> ## Documentation Index
> Fetch the complete documentation index at: https://dripart-docs-custom-nodes-sdk-v2-frontend.mintlify.site/llms.txt
> Use this file to discover all available pages before exploring further.
# Luma 텍스트 기반 이미지 생성 파트너 노드 ComfyUI 공식 예제
> 이 가이드에서는 ComfyUI의 Luma 텍스트 기반 이미지 생성 파트너 노드를 사용하는 방법을 설명합니다.
Luma 이미지 생성 (텍스트 → 이미지) 노드는 Luma AI의 고급 기술을 활용하여 텍스트 프롬프트에서 고품질 이미지를 생성할 수 있으며, 사실적인 콘텐츠와 예술적 스타일의 이미지를 제작할 수 있습니다.
## Luma 이미지 생성(텍스트 → 이미지)이 뛰어난 분야
* **고품질 텍스트 기반 이미지 생성**: 텍스트 프롬프트에서 사진처럼 사실적인 콘텐츠와 예술적 스타일의 이미지를 생성합니다.
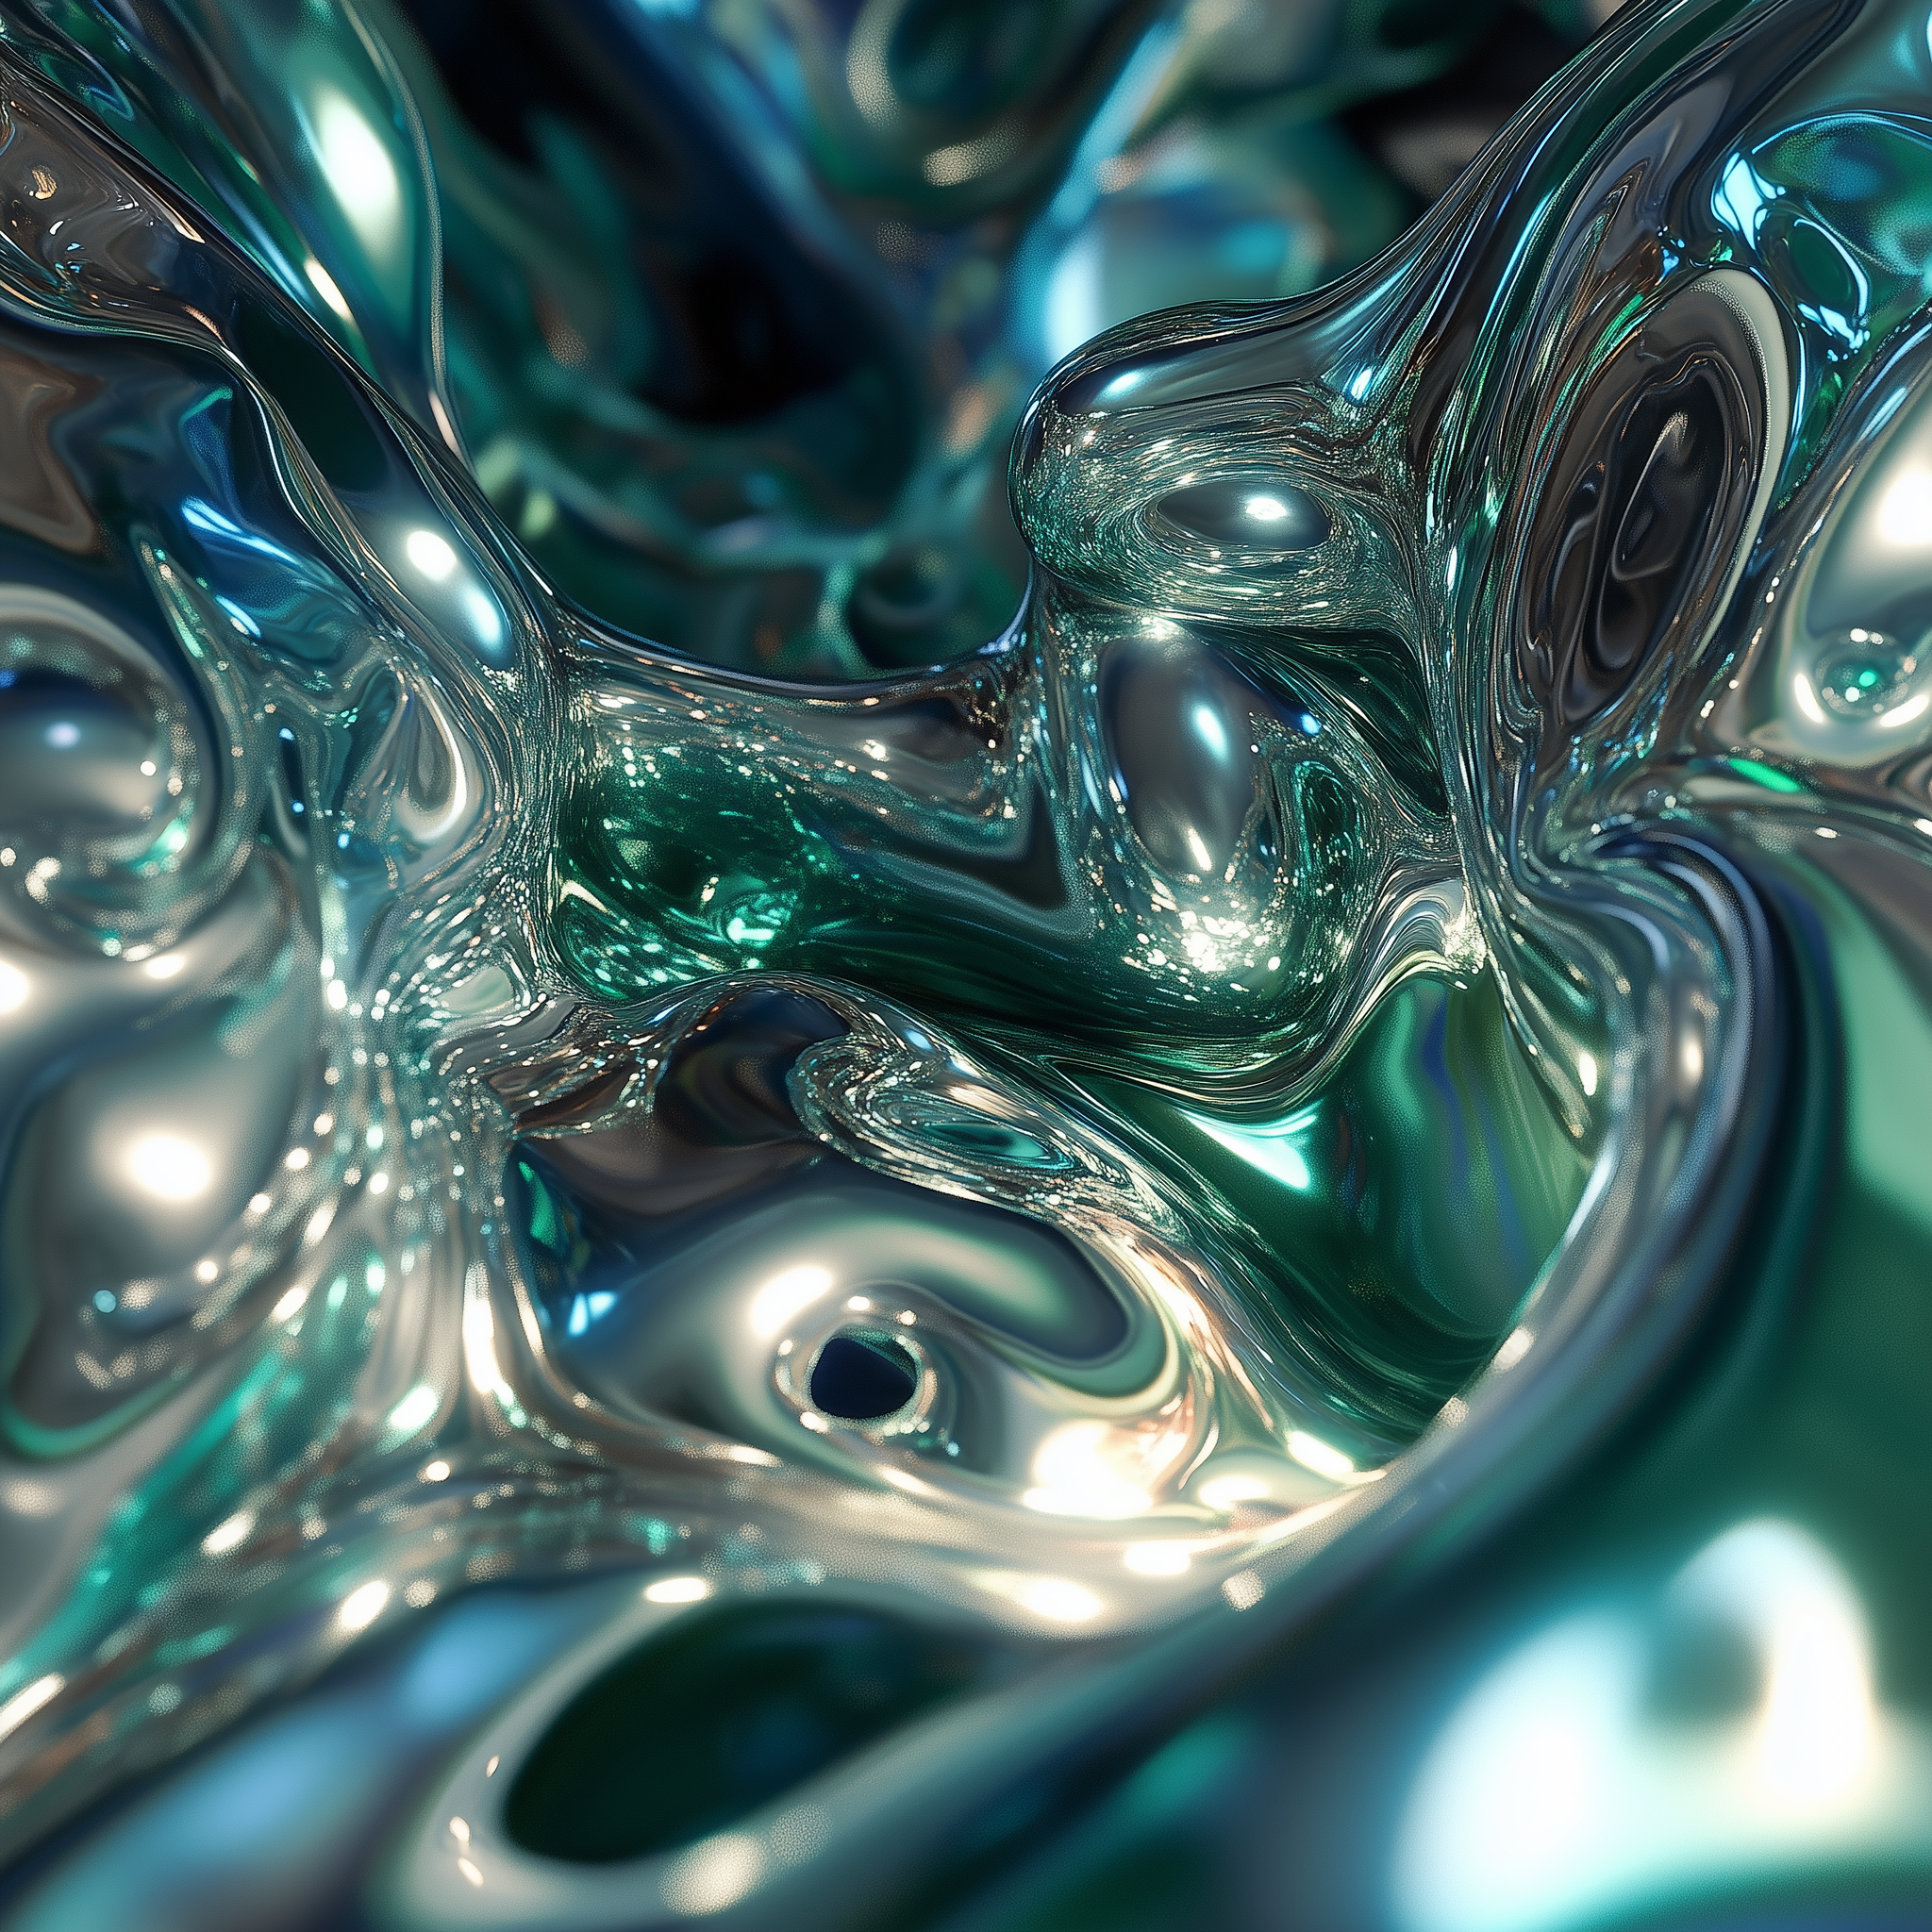
* **스타일 참조**: `style_image` 입력이 결과물의 룩을 안내하며, `style_image_weight` 값이 스타일 참조 이미지의 영향력을 제어합니다.
* **이미지 및 캐릭터 참조**: `image_luma_ref` 입력이 참조 기반 생성을 지원하며, 최대 4개의 참조 이미지와 캐릭터 참조를 동시에 사용할 수 있습니다.
## 예제 출력
`style_image_weight` 값에 따른 스타일 가이드 생성으로, 스타일 참조 이미지의 영향을 보여줍니다:
 파트너 노드를 사용하려면 올바르게 로그인되어 있고 허가된 네트워크 환경을 사용하고 있는지 확인해야 합니다. 파트너 노드를 사용하기 위한 구체적인 요구사항은 문서의 [파트너 노드 개요](/ko/tutorials/partner-nodes/overview) 섹션을 참조해 주세요.
ComfyUI가 최신 버전으로 업데이트되었는지 확인하세요.
* [ComfyUI 다운로드](https://www.comfy.org/download)
* [업데이트 가이드](/ko/installation/update_comfyui)
이 가이드의 워크플로는 [워크플로 템플릿](/ko/interface/features/template)에서 확인할 수 있습니다.
템플릿에서 찾을 수 없다면, 귀하의 ComfyUI가 오래된 버전일 수 있습니다.
워크플로를 로드할 때 노드가 누락되는 경우, 가능한 원인:
1. 최신 ComfyUI 버전(최신 테스트 버전(nightly))을 사용하고 있지 않음
2. 일부 노드가 시작 시 가져오기에 실패함
* [클라우드](https://cloud.comfy.org)는 ComfyUI 안정판 출시 후 업데이트됩니다.
따라서 이 문서에서 핵심 노드가 누락된 것을 발견했다면, 그 이유는 새로운 핵심 노드가 아직 최신 안정판에 공개되지 않았기 때문일 수 있습니다. 다음 안정판 출시를 기다려 주세요.
## Luma Text to Image 파트너 노드 워크플로
When the `Luma Text to Image` node is used without any image inputs, it functions as a text-to-image workflow. In this guide, we've created examples using `style_image` and `image_luma_ref` to showcase Luma AI's excellent image processing capabilities.
### 1. 워크플로 파일 다운로드
워크플로 정보는 아래 이미지의 메타데이터에 포함되어 있습니다. 이미지를 다운로드하여 ComfyUI로 드래그하면 워크플로가 로드됩니다.
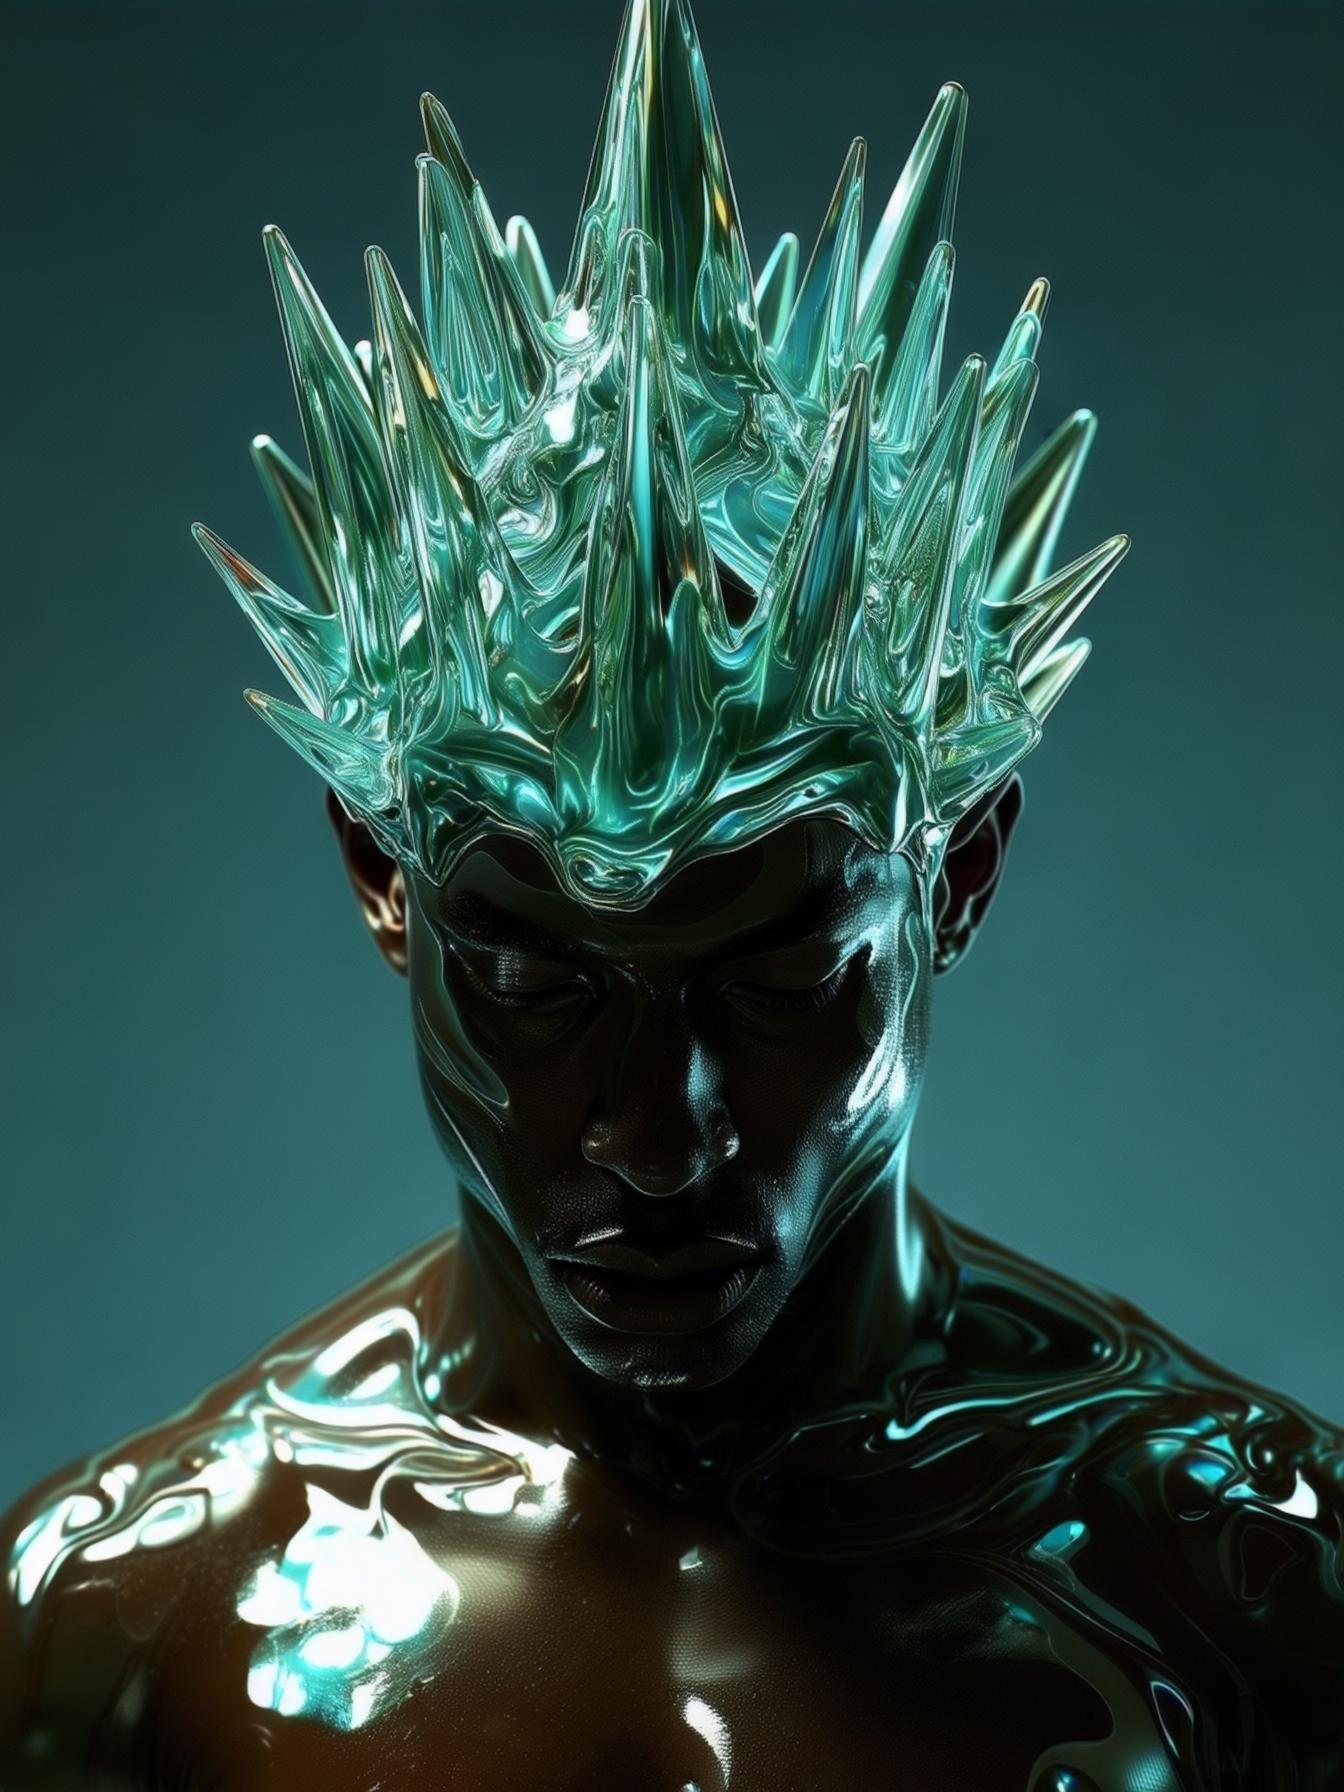
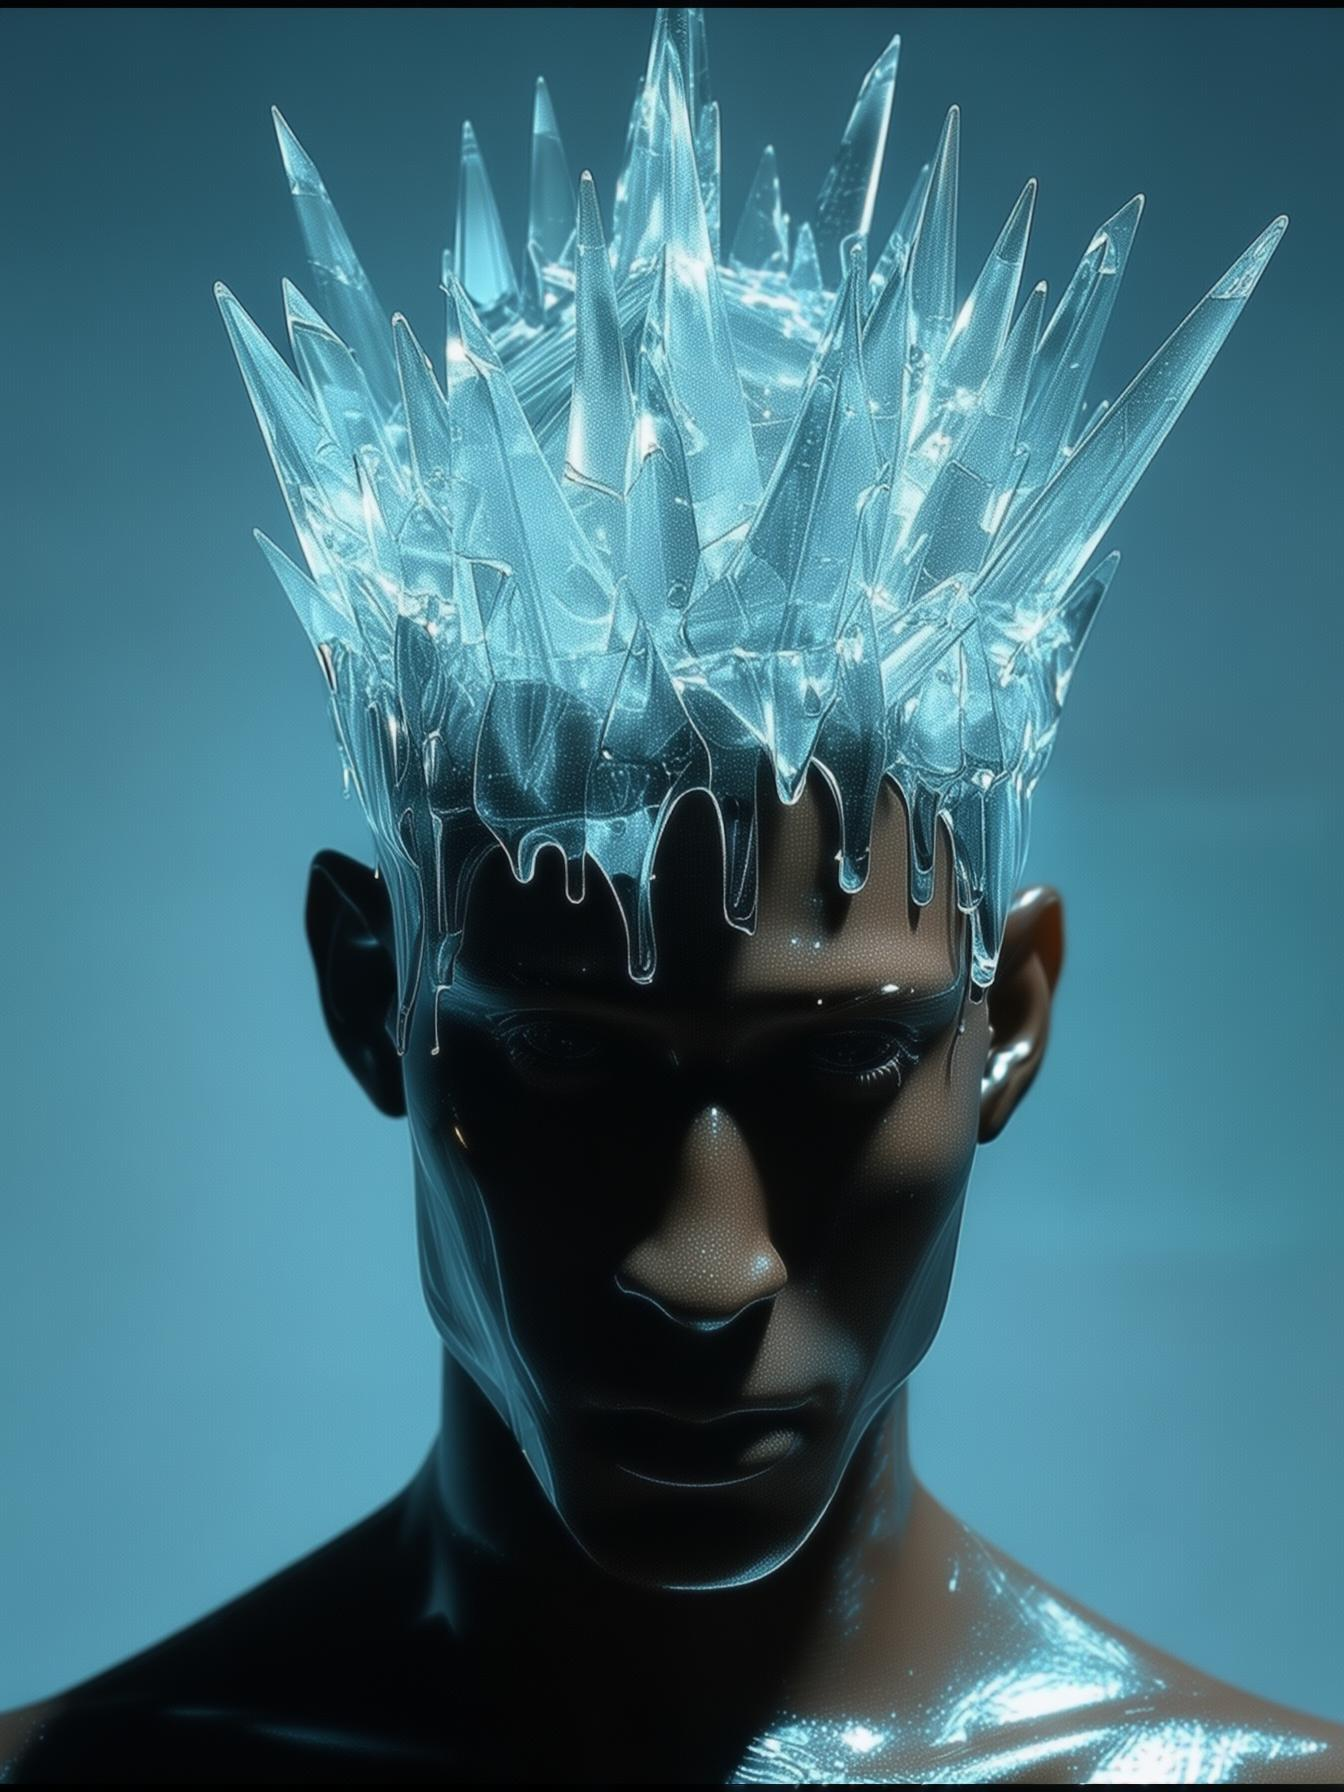
입력용으로 다음 이미지를 다운로드하세요:
### 2. 워크플로 실행 단계 따라하기
파트너 노드를 사용하려면 올바르게 로그인되어 있고 허가된 네트워크 환경을 사용하고 있는지 확인해야 합니다. 파트너 노드를 사용하기 위한 구체적인 요구사항은 문서의 [파트너 노드 개요](/ko/tutorials/partner-nodes/overview) 섹션을 참조해 주세요.
ComfyUI가 최신 버전으로 업데이트되었는지 확인하세요.
* [ComfyUI 다운로드](https://www.comfy.org/download)
* [업데이트 가이드](/ko/installation/update_comfyui)
이 가이드의 워크플로는 [워크플로 템플릿](/ko/interface/features/template)에서 확인할 수 있습니다.
템플릿에서 찾을 수 없다면, 귀하의 ComfyUI가 오래된 버전일 수 있습니다.
워크플로를 로드할 때 노드가 누락되는 경우, 가능한 원인:
1. 최신 ComfyUI 버전(최신 테스트 버전(nightly))을 사용하고 있지 않음
2. 일부 노드가 시작 시 가져오기에 실패함
* [클라우드](https://cloud.comfy.org)는 ComfyUI 안정판 출시 후 업데이트됩니다.
따라서 이 문서에서 핵심 노드가 누락된 것을 발견했다면, 그 이유는 새로운 핵심 노드가 아직 최신 안정판에 공개되지 않았기 때문일 수 있습니다. 다음 안정판 출시를 기다려 주세요.
## Luma Text to Image 파트너 노드 워크플로
When the `Luma Text to Image` node is used without any image inputs, it functions as a text-to-image workflow. In this guide, we've created examples using `style_image` and `image_luma_ref` to showcase Luma AI's excellent image processing capabilities.
### 1. 워크플로 파일 다운로드
워크플로 정보는 아래 이미지의 메타데이터에 포함되어 있습니다. 이미지를 다운로드하여 ComfyUI로 드래그하면 워크플로가 로드됩니다.

입력용으로 다음 이미지를 다운로드하세요:


### 2. 워크플로 실행 단계 따라하기
 이미지의 번호가 매겨진 단계에 따라 기본 워크플로를 실행하세요:
1. Upload the reference image in the `Load image` node
2. Upload the style reference image in the `Load image (renamed to styleref)` node
3. (Optional) Modify the prompts in the `Luma Text to Image` node
4. (Optional) Adjust the `style_image_weight` to control the style reference image's influence
5. Click the `Run` button or use the shortcut `Ctrl(cmd) + Enter` to generate the image
6. After the API returns results, view the generated image in the `Save Image` node. Images are saved to the `ComfyUI/output/` directory
### 3. 추가 참고사항
* The node allows up to 4 reference images and character references simultaneously.
* To enable multiple image inputs, right-click on the purple "Bypassed" nodes and set their `mode` to `always`
이미지의 번호가 매겨진 단계에 따라 기본 워크플로를 실행하세요:
1. Upload the reference image in the `Load image` node
2. Upload the style reference image in the `Load image (renamed to styleref)` node
3. (Optional) Modify the prompts in the `Luma Text to Image` node
4. (Optional) Adjust the `style_image_weight` to control the style reference image's influence
5. Click the `Run` button or use the shortcut `Ctrl(cmd) + Enter` to generate the image
6. After the API returns results, view the generated image in the `Save Image` node. Images are saved to the `ComfyUI/output/` directory
### 3. 추가 참고사항
* The node allows up to 4 reference images and character references simultaneously.
* To enable multiple image inputs, right-click on the purple "Bypassed" nodes and set their `mode` to `always`