> ## Documentation Index
> Fetch the complete documentation index at: https://dripart-docs-custom-nodes-sdk-v2-frontend.mintlify.site/llms.txt
> Use this file to discover all available pages before exploring further.
# ComfyUIでBria Eraser、Expand Image、GenFillを使う
> オブジェクトの削除、画像の拡張、マスク領域内へのコンテンツ生成を、ComfyUIのパートナーノード Bria Eraser、Expand Image、Generative Fill で行う方法を解説します。
Bria の画像編集ツールは、ComfyUI でパートナーノードとして利用できます。このページでは、マスクベースの編集ワークフローを3つ紹介します:**Bria Eraser**(オブジェクトの削除)、**Bria Expand Image**(境界外への outpainting)、**Bria Generative Fill**(マスク領域内へのコンテンツ生成)。3つすべてで、編集領域の外側はピクセル単位で完全にそのまま維持されます。
## Bria Image Editing が得意なこと
* **オブジェクト除去**: Bria Eraser は、マスクされたオブジェクトまたは領域を消去し、周囲のコンテキストで埋めます。プロンプトは不要です。
* **画像展開**: Bria Expand Image は、オリジナルの境界を越えてアウトペイントし、画像のライティング、パースペクティブ、テクスチャに一致する周囲を生成します。
* **ジェネラティブフィル**: Bria Generative Fill は、プロンプトに基づいてマスクされた領域を再生成し、新しいコンテンツをシーンにアートディレクションします。
* **ピクセル単位の完全保持**: 3 つのワークフローはすべて、編集領域外のすべてを変更せずにそのまま保持します。
## 出力例
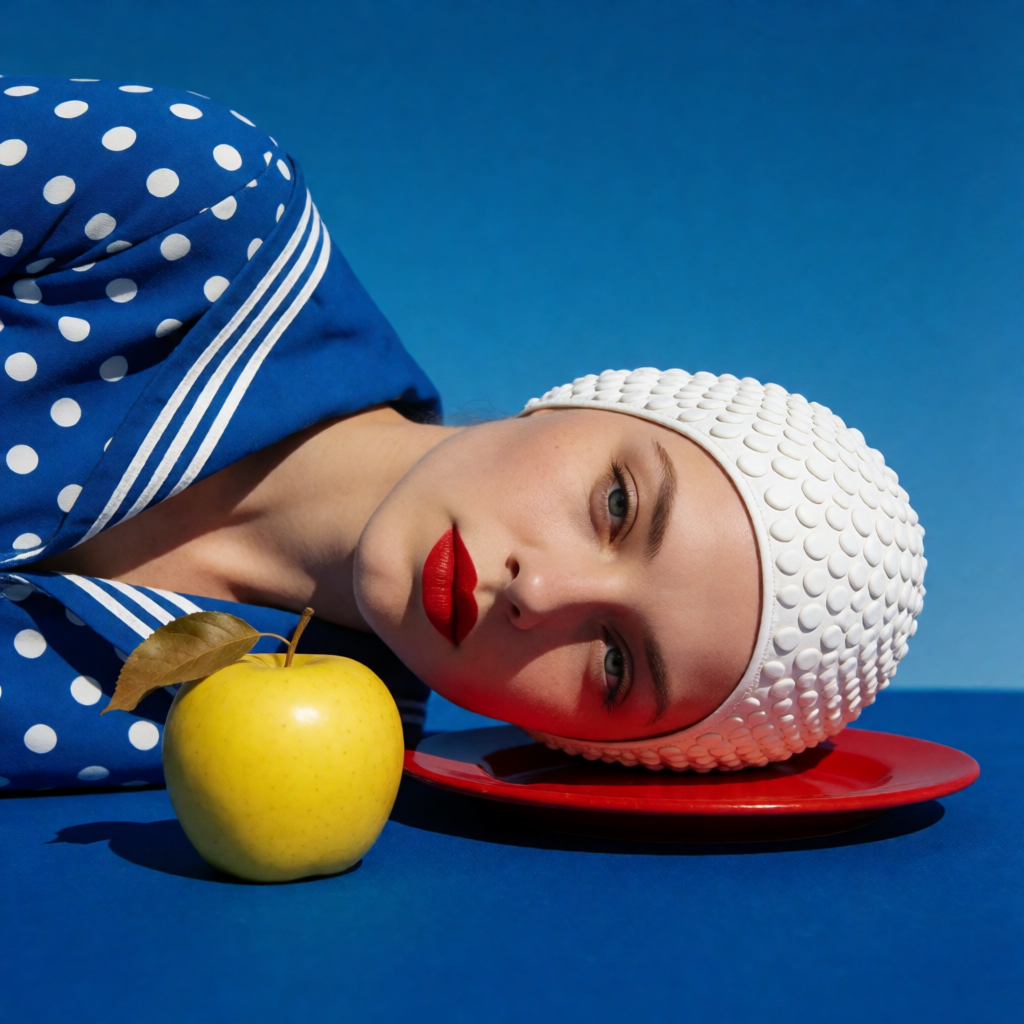
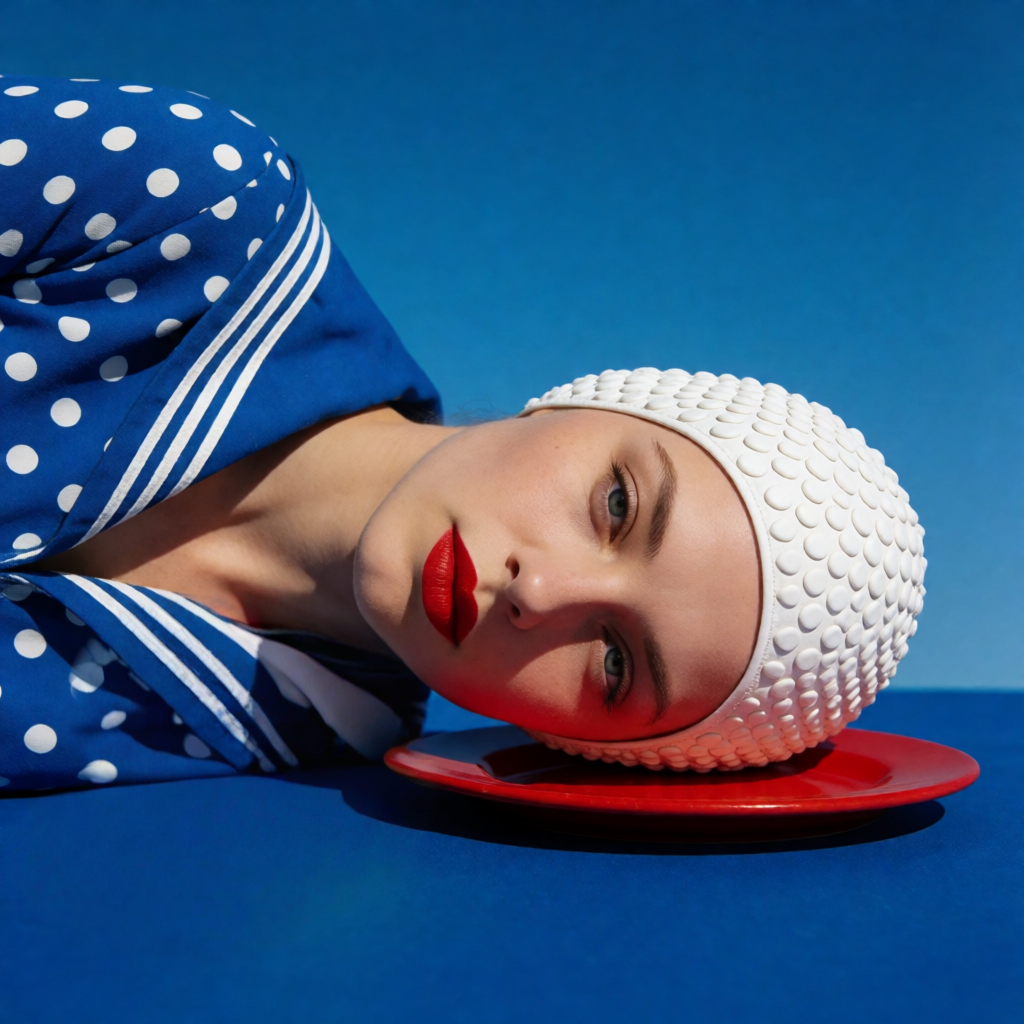
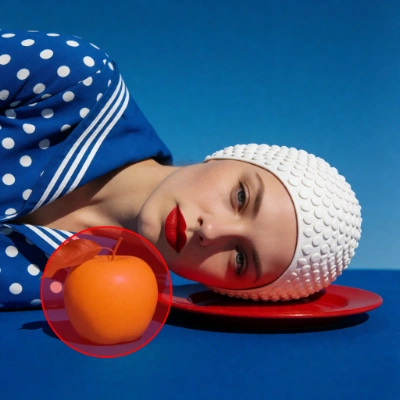
Bria Eraser(消しゴム)によるオブジェクト削除。消去された領域の背後にある背景をインペイントします:
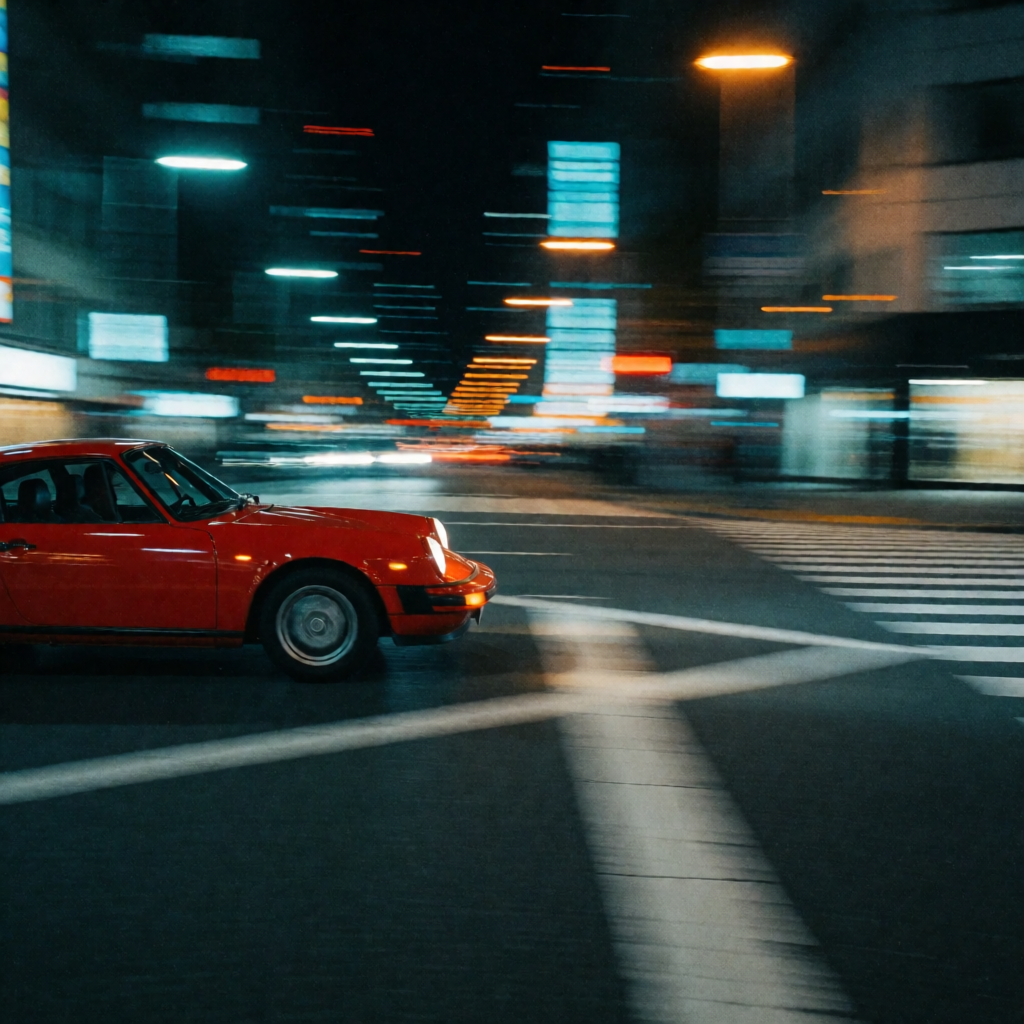
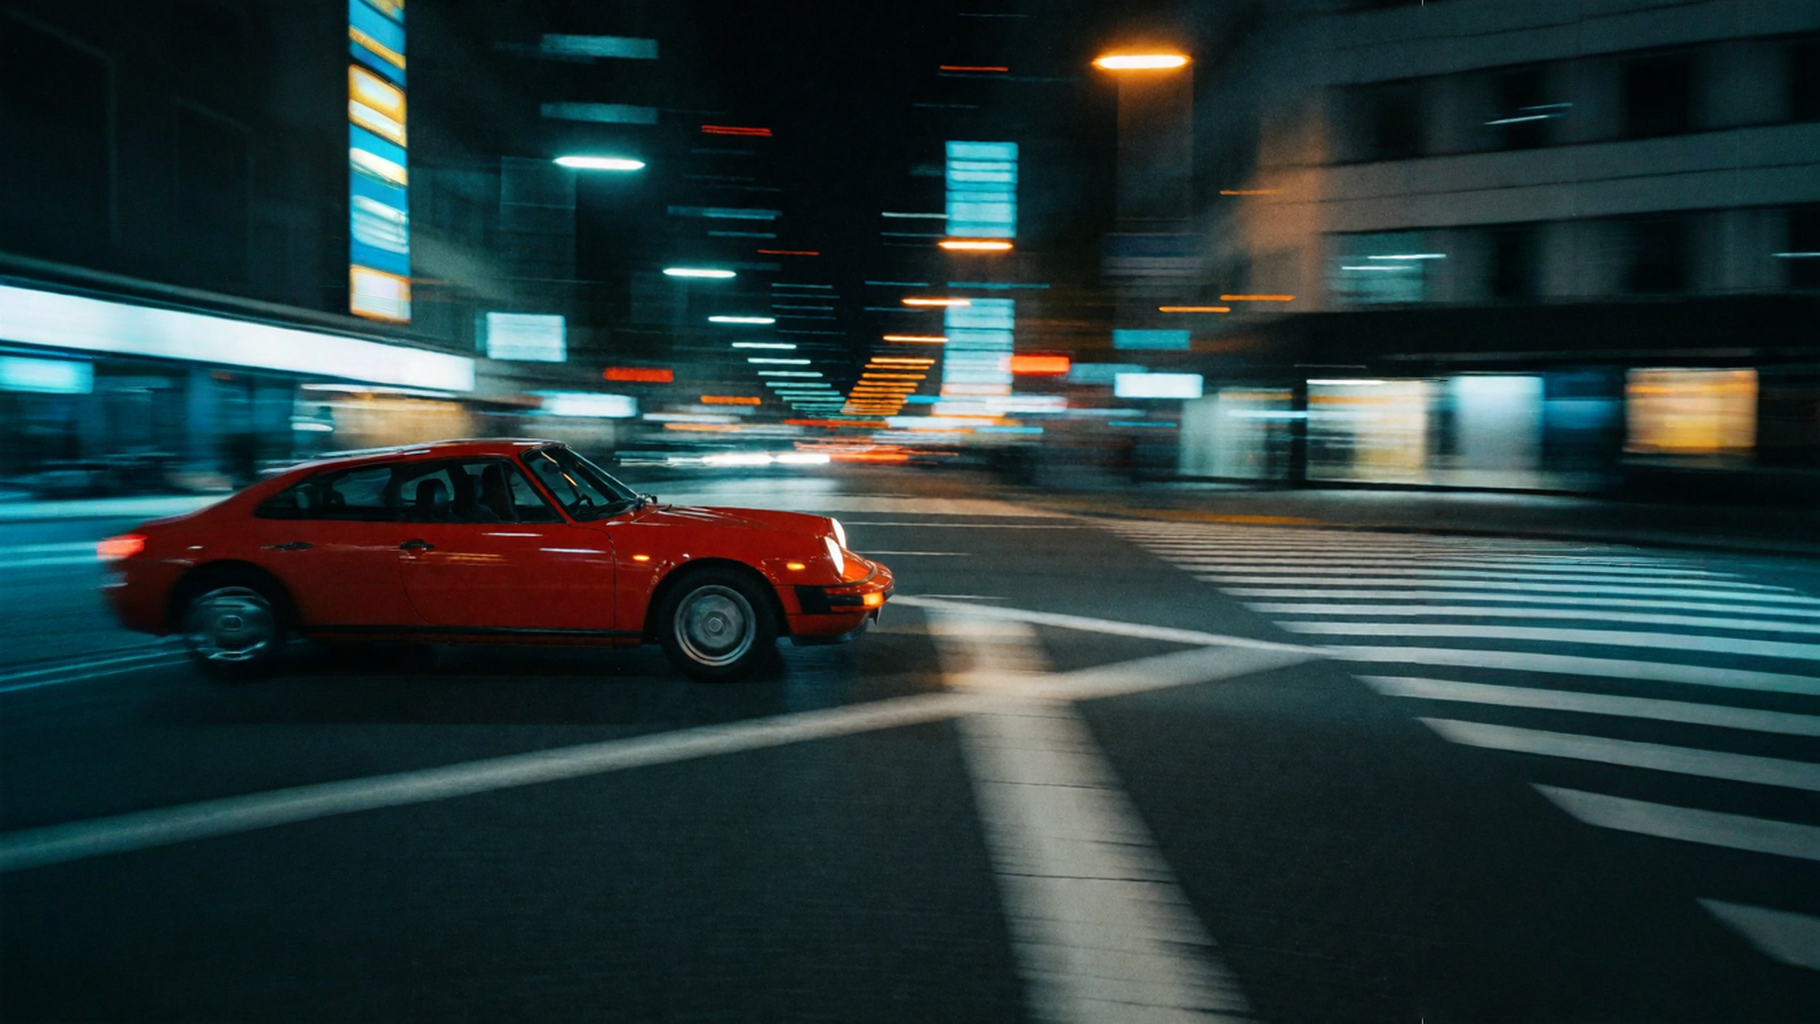
Bria Expand Imageによる画像展開。シーンをオリジナルの境界を超えて拡張します:
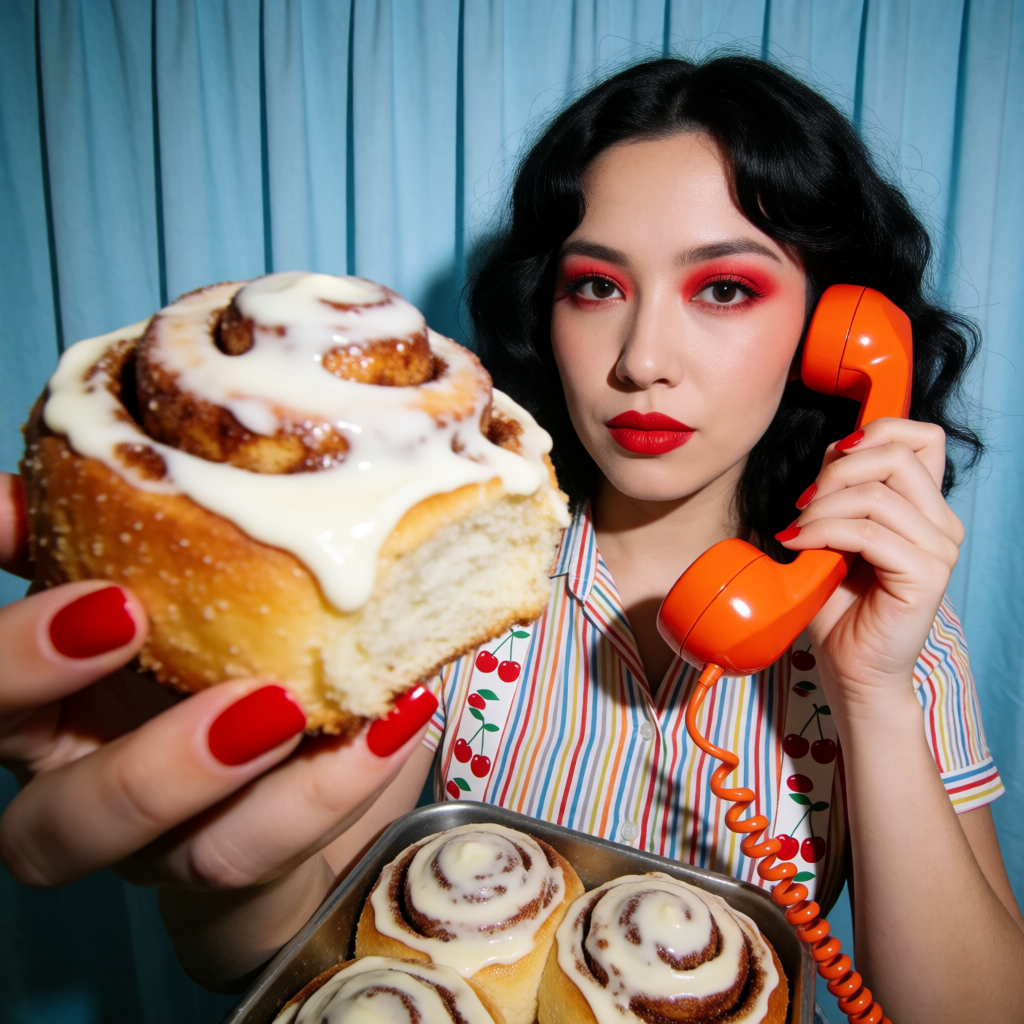
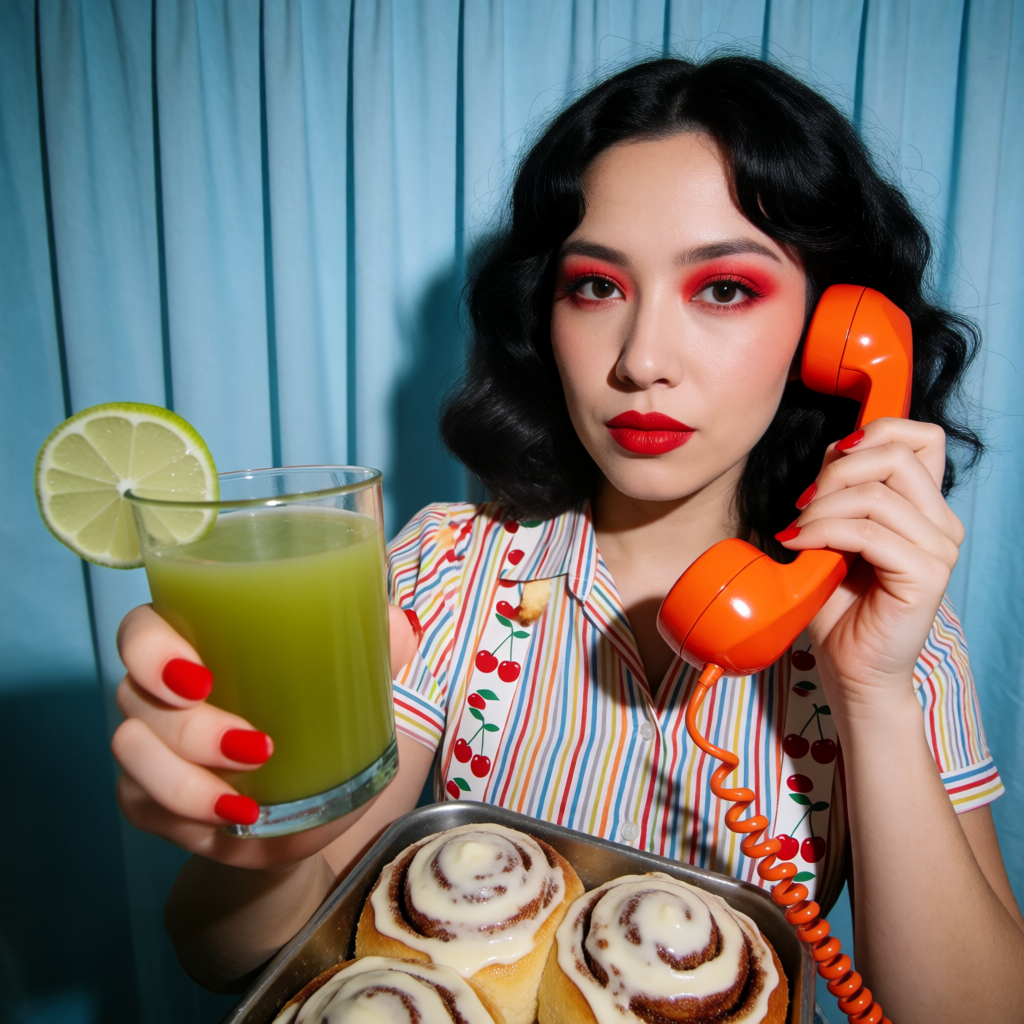
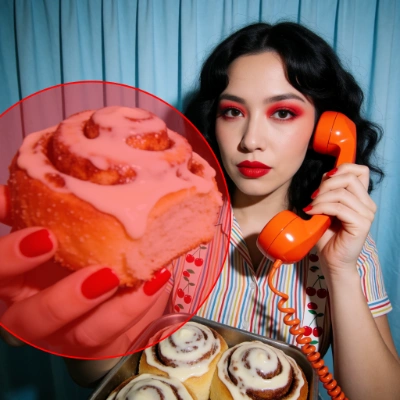
プロンプトからマスク領域を再生成するジェネレーティブフィル:
各ワークフローは、1枚の入力画像とマスクを受け取ります。テンプレート内の**Painter**ノードはマスクを描画するためのブラシキャンバスを提供し、**ImageCompare**(画像比較)ノードは前後の結果を並べて表示します。PainterノードはNodes 2.0でのみ利用できます。「Painter: Node 2.0 only」としか表示されない場合は、**Menu -> Nodes2.0**からNodes 2.0を有効にするか、代わりに[マスクエディター](https://docs.comfy.org/interface/maskeditor)を使用してマスクを作成してください。
APIノードを使用するには、正しくログインしていることと、許可されたネットワーク環境で使用していることを確認する必要があります。APIノードの使用に必要な具体的な要件については、ドキュメントの「[APIノードの概要](/ja/tutorials/partner-nodes/overview)」セクションをご参照ください。
ComfyUI が最新版に更新されていることを確認してください。
* [ComfyUI のダウンロード](https://www.comfy.org/download)
* [更新手順](/ja/installation/update_comfyui)
このガイドで紹介するワークフローは、[ワークフローテンプレート](/ja/interface/features/template)から入手できます。
テンプレート内に該当のワークフローが見つからない場合、ComfyUI のバージョンが古くなっている可能性があります。
ワークフローを読み込んだ際にノードが欠落している場合の考えられる原因:
1. 最新の ComfyUI(Nightly 版)を使用していない
2. 起動時に一部のノードのインポートに失敗している
* [Cloud](https://cloud.comfy.org) は、ComfyUI の安定版リリース後に更新されます。
したがって、このドキュメントでコアノードが見つからない場合、それは新しいコアノードがまだ最新の安定版にリリースされていない可能性があります。次回の安定版リリースをお待ちください。
Bria:消しゴム
画像から特定のオブジェクトまたは領域を削除します。マスクされた領域は消去され、周囲のコンテキストで埋められます。マスクの外側はすべて変更されません。
 Comfy Cloudで開く
JSONをダウンロードするか、テンプレートライブラリで「Bria Eraser」を検索
**入力ファイル**
このファイルを対応する`LoadImage`ノードにアップロードします:
サンプル入力画像をダウンロード
**使用方法**
1. **画像を読み込む**:`LoadImage`に画像をアップロードします。Painterキャンバスと比較ビューが自動的に更新されます。
2. **マスクをペイントする**:削除したいオブジェクトまたは領域にブラシで塗ります。オブジェクトの端(髪、ガラス、布地、接触点)を少し超えて塗ると、モデルがきれいにブレンドできる余地が生まれます。
3. **`BriaEraser`を実行**:プロンプトは不要です。ノードがマスク領域を消去し、背景をインペイントします。まだ設定されていない場合は、`api_key`を入力します。
4. **比較して保存**:`ImageCompare`(画像比較)で前後の結果を表示し、`SaveImageAdvanced`で結果をエクスポートします。
マスクされた領域は周囲から完全に再生成されるため、結果はシームレスにブレンドされます。マスクはバイナリで、白(255)が削除する領域を示し、黒(0)がそれ以外の領域を示します。また、マスクは画像のアスペクト比と一致している必要があります。より正確な結果を得るには、利用可能な場合は自動セグメンテーションマスク(SAMスタイル)を使用してください。APIの`mask_type`は、`manual`(ブラシ描画)と`automatic`(アルゴリズム生成)のマスクを区別します。
Comfy Cloudで開く
JSONをダウンロードするか、テンプレートライブラリで「Bria Eraser」を検索
**入力ファイル**
このファイルを対応する`LoadImage`ノードにアップロードします:
サンプル入力画像をダウンロード
**使用方法**
1. **画像を読み込む**:`LoadImage`に画像をアップロードします。Painterキャンバスと比較ビューが自動的に更新されます。
2. **マスクをペイントする**:削除したいオブジェクトまたは領域にブラシで塗ります。オブジェクトの端(髪、ガラス、布地、接触点)を少し超えて塗ると、モデルがきれいにブレンドできる余地が生まれます。
3. **`BriaEraser`を実行**:プロンプトは不要です。ノードがマスク領域を消去し、背景をインペイントします。まだ設定されていない場合は、`api_key`を入力します。
4. **比較して保存**:`ImageCompare`(画像比較)で前後の結果を表示し、`SaveImageAdvanced`で結果をエクスポートします。
マスクされた領域は周囲から完全に再生成されるため、結果はシームレスにブレンドされます。マスクはバイナリで、白(255)が削除する領域を示し、黒(0)がそれ以外の領域を示します。また、マスクは画像のアスペクト比と一致している必要があります。より正確な結果を得るには、利用可能な場合は自動セグメンテーションマスク(SAMスタイル)を使用してください。APIの`mask_type`は、`manual`(ブラシ描画)と`automatic`(アルゴリズム生成)のマスクを区別します。
Bria: 画像の展開
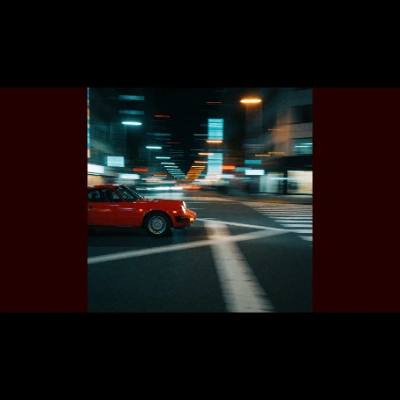
画像を元の境界線を超えて展開します。オリジナル画像はそのまま残り、周囲の領域が照明、パースペクティブ、テクスチャに合わせて生成されます。
 Comfy Cloud で開く
JSON をダウンロード、またはテンプレートライブラリで "Bria Expand Image" を検索
**入力素材**
対応する `LoadImage` ノードにこのファイルをアップロードします:
サンプル入力画像をダウンロード
**使用方法**
1. **画像を読み込む**: `LoadImage` に画像をアップロードし、`BriaExpandImage` に接続します。
2. **展開モードを選択**: `expand_mode` ドロップダウンから選択します:
* **プリセット比率**: `1:1`、`2:3`、`3:2`、`3:4`、`4:3`、`4:5`、`5:4`、`9:16`、`16:9` のいずれかを選択します。画像は中央に配置され、端がその比率にフィットするように展開されます。
* **カスタム比率**: `custom_ratio` を選択し、`ratio_width` / `ratio_height` を設定します(例: 21:9 の場合は 21 と 9)。Bria は幅と高さの比率が 0.5〜3.0 の間の値を受け付けるため、1:2 より縦長の場合は手動モードが必要です。
* **手動**: `manual` を選択し、`canvas_width` / `canvas_height`(最大 5000 x 5000)、`image_width` / `image_height`、`image_x` / `image_y`(画像の左上隅。トリミングする場合は負の値にできます)を指定して、キャンバス上にオリジナル画像を配置します。
3. **プロンプト(オプション)**: 空のままにすると、Bria が入力画像から自動的にプロンプトを生成し、シーンとスタイルに合わせて展開します。または、展開の方向を明示的に指定する独自のプロンプトを記述することもできます。例: 「the street continuing to the right」「add a streetlamp」「no other cars」。英語のみ対応。特殊文字はサポートされていません。
4. **オプション**: `negative_prompt` で不要なコンテンツを回避、`seed` で結果を再現、`moderation` でコンテンツモデレーションを有効にできます。
5. **保存**: 画像出力を `SaveImage` に接続します。
ノードの `prompt` 出力には、実際に使用されたプロンプトが表示されます。つまり、入力したプロンプト、またはフィールドが空の場合に Bria が自動生成したプロンプトです。ターゲットのアスペクト比が画像の現在の比率と等しい場合(例: 1:1 の画像に `1:1` を設定)、変更は行われず、画像はそのまま返されます。キャンバス領域は 5,000 x 5,000 ピクセルに制限されています。最良の結果を得るには、メインの被写体をキャンバス全体の 15% 以上に保ってください。
Comfy Cloud で開く
JSON をダウンロード、またはテンプレートライブラリで "Bria Expand Image" を検索
**入力素材**
対応する `LoadImage` ノードにこのファイルをアップロードします:
サンプル入力画像をダウンロード
**使用方法**
1. **画像を読み込む**: `LoadImage` に画像をアップロードし、`BriaExpandImage` に接続します。
2. **展開モードを選択**: `expand_mode` ドロップダウンから選択します:
* **プリセット比率**: `1:1`、`2:3`、`3:2`、`3:4`、`4:3`、`4:5`、`5:4`、`9:16`、`16:9` のいずれかを選択します。画像は中央に配置され、端がその比率にフィットするように展開されます。
* **カスタム比率**: `custom_ratio` を選択し、`ratio_width` / `ratio_height` を設定します(例: 21:9 の場合は 21 と 9)。Bria は幅と高さの比率が 0.5〜3.0 の間の値を受け付けるため、1:2 より縦長の場合は手動モードが必要です。
* **手動**: `manual` を選択し、`canvas_width` / `canvas_height`(最大 5000 x 5000)、`image_width` / `image_height`、`image_x` / `image_y`(画像の左上隅。トリミングする場合は負の値にできます)を指定して、キャンバス上にオリジナル画像を配置します。
3. **プロンプト(オプション)**: 空のままにすると、Bria が入力画像から自動的にプロンプトを生成し、シーンとスタイルに合わせて展開します。または、展開の方向を明示的に指定する独自のプロンプトを記述することもできます。例: 「the street continuing to the right」「add a streetlamp」「no other cars」。英語のみ対応。特殊文字はサポートされていません。
4. **オプション**: `negative_prompt` で不要なコンテンツを回避、`seed` で結果を再現、`moderation` でコンテンツモデレーションを有効にできます。
5. **保存**: 画像出力を `SaveImage` に接続します。
ノードの `prompt` 出力には、実際に使用されたプロンプトが表示されます。つまり、入力したプロンプト、またはフィールドが空の場合に Bria が自動生成したプロンプトです。ターゲットのアスペクト比が画像の現在の比率と等しい場合(例: 1:1 の画像に `1:1` を設定)、変更は行われず、画像はそのまま返されます。キャンバス領域は 5,000 x 5,000 ピクセルに制限されています。最良の結果を得るには、メインの被写体をキャンバス全体の 15% 以上に保ってください。
Bria: 生成塗りつぶし
プロンプトから画像の特定領域を再生成します。マスクされた領域は完全に再生成され、マスク外の部分はピクセル単位で完全にそのまま保持されます。
 Comfy Cloud で開く
JSON をダウンロードするか、テンプレートライブラリで "Bria: Generative Fill" を検索
**入力マテリアル**
このファイルを対応する `LoadImage` ノードにアップロードします:
サンプル入力画像をダウンロード
**使用方法**
1. **画像を読み込む**: `LoadImage` で画像をアップロードします。Painter キャンバスと比較ビューが自動更新されます。
2. **マスクを描く**: 再生成したい領域をブラシで塗ります。ブラシで描いた塊状のマスクが最適です。モデルになじませる余地を持たせるため、オブジェクトの端(髪、ガラス、布地、接点)を少しはみ出して塗ってください。
3. **プロンプトを書く**: `BriaGenFill` で、マスク内に何を生成するかを、まるで切り抜かれたミクロシーンをアートディレクションするかのように記述します。オブジェクトの名前、マテリアルとサイズ、表面との相互作用、接地面の影を指定してください。90〜110語程度が最適です。`refine_prompt` は有効のままにしてください。
4. **オプション**: 不要な詳細を避けるために `negative_prompt` を使用します。固定の `seed` を使用してマスクや文言を反復調整し、結果が良くなったらシードをランダム化します。
5. **比較して保存**: `ImageCompare` で前後の比較を表示し、`SaveImageAdvanced` で結果をエクスポートします。
マスクはピクセルのレタッチではなく、生成による置き換えをトリガーします。マスクされた領域は「この領域をレタッチする」ではなく「この領域を再生成する」ことを意味します。
## はじめる
1. ComfyUIを最新バージョンにアップデートしてください
2. テンプレートライブラリに移動して、`Bria Eraser`、`Bria Expand Image`、または `Bria Generative Fill` を検索してください
Comfy Cloud で開く
JSON をダウンロードするか、テンプレートライブラリで "Bria: Generative Fill" を検索
**入力マテリアル**
このファイルを対応する `LoadImage` ノードにアップロードします:
サンプル入力画像をダウンロード
**使用方法**
1. **画像を読み込む**: `LoadImage` で画像をアップロードします。Painter キャンバスと比較ビューが自動更新されます。
2. **マスクを描く**: 再生成したい領域をブラシで塗ります。ブラシで描いた塊状のマスクが最適です。モデルになじませる余地を持たせるため、オブジェクトの端(髪、ガラス、布地、接点)を少しはみ出して塗ってください。
3. **プロンプトを書く**: `BriaGenFill` で、マスク内に何を生成するかを、まるで切り抜かれたミクロシーンをアートディレクションするかのように記述します。オブジェクトの名前、マテリアルとサイズ、表面との相互作用、接地面の影を指定してください。90〜110語程度が最適です。`refine_prompt` は有効のままにしてください。
4. **オプション**: 不要な詳細を避けるために `negative_prompt` を使用します。固定の `seed` を使用してマスクや文言を反復調整し、結果が良くなったらシードをランダム化します。
5. **比較して保存**: `ImageCompare` で前後の比較を表示し、`SaveImageAdvanced` で結果をエクスポートします。
マスクはピクセルのレタッチではなく、生成による置き換えをトリガーします。マスクされた領域は「この領域をレタッチする」ではなく「この領域を再生成する」ことを意味します。
## はじめる
1. ComfyUIを最新バージョンにアップデートしてください
2. テンプレートライブラリに移動して、`Bria Eraser`、`Bria Expand Image`、または `Bria Generative Fill` を検索してください